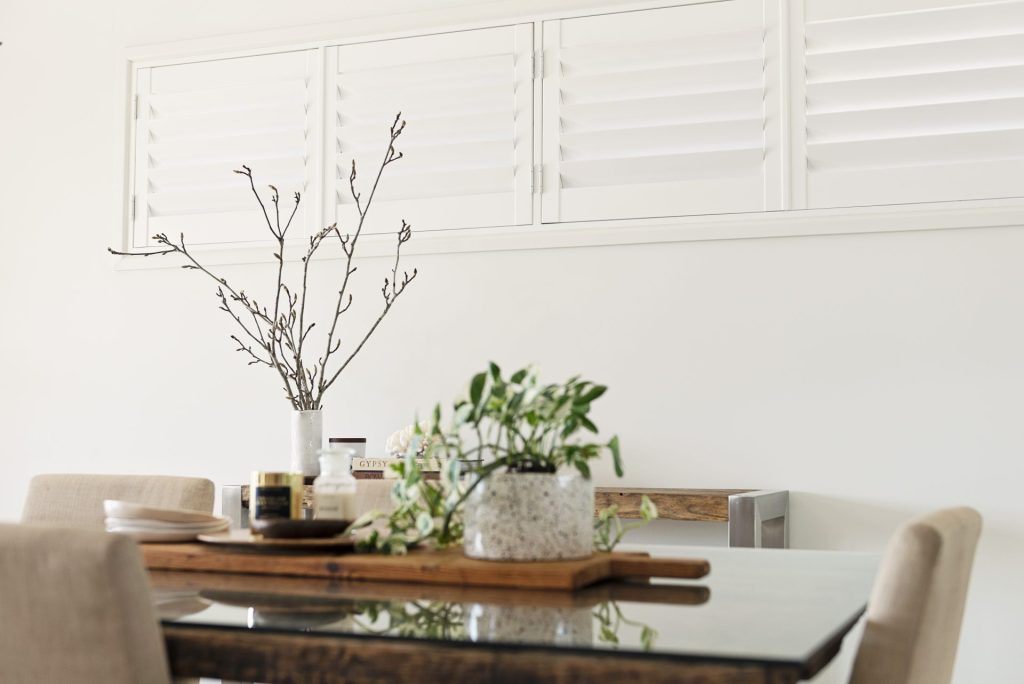
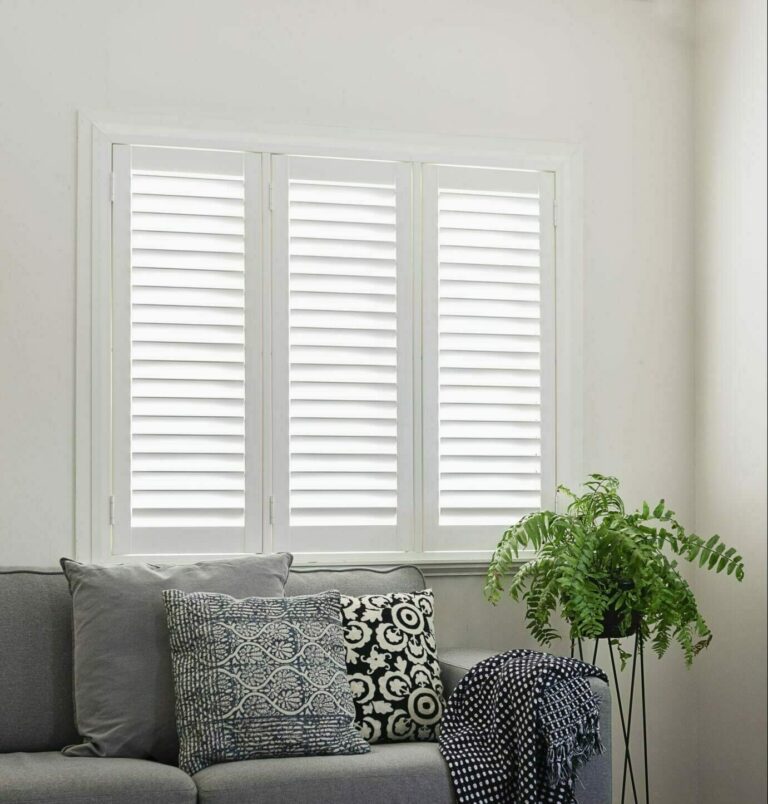
Plantation shutters are a popular choice among coastal homeowners. Made from either polycarbonate and fibreglass (PVC), traditional timber with a unique wood grain or marine-grade aluminium, plantation shutters can add warmth and elegance to almost any room!
As well as looking fantastic, plantation shutters are quick and simple to install. Our team can be in and out of your home within 30 to 90 minutes (possibly more, depending on how many shutters need to be installed), leaving your home looking cleaner and more stylish than when we arrived.
So, how are plantation shutters installed? Here, we share our step-by-step process for traditional hinged and bi-fold plantation shutter installation.
Traditional hinged plantation shutter installation

Installing traditional hinged plantation shutters takes around 30 minutes for each regular shutter. The process is as follows:
- First, we unbox the frame from its packaging and connect it all together.
- The frame is then placed into or onto the window (depending if it’s revealed or face-mounted) and secured in place by screwing into the timber or steel frame of the window.
- We then unbox the shutter panels from their packaging.
- The panels are connected to the frame using traditional hinges and hinge pins.
- We usually need to adjust the panels to ensure they close correctly and as evenly as possible. These adjustments are usually made to the hinge plates, which are pre-secured onto the frame during manufacturing.
- Once the panels open and close smoothly, we will then cover all the screw holes in the frame with colour-matched stickers.
It’s that simple! Our team will then clean up any mess we’ve made during the installation and ensure you understand our warranties well. If any questions arise after the installation, feel free to get in touch with our team.
Sliding and bi-fold plantation shutter installation

Installing sliding and bi-hold shutters are almost as simple as regular shutters! The process takes around 60 to 90 minutes for each sliding or bi-fold shutter and can be broken down into seven simple steps.
- We unbox the side frames, pelmet and tracks from their packaging.
- We connect the side frames, pelmet and top tracks together by screwing them into place, which creates a convenient tracking system.
- The tracking system is then placed into or onto the door (depending if it’s mounted inside or outside) and secured in place by screwing it into the timber or steel frame of the door.
- The bottom tracks are installed on the floor in line with the top tracks. If the floor is timber or tiles, this is usually done with a strong adhesive that is already in place on the bottom of the tracks. If the floor is carpeted, the tracks are installed on a bottom frame that is secured to the tracking system.
- Then, we unbox the shutter panels from their packaging.
- The panels are connected to the tracking system through hand wheels that are pre-installed into the top tracks, and panel heights are adjusted to ensure smooth operation along the track.
- Once the panels move along the track nicely, we’ll cover all the screw holes in the frame with colour-matched stickers.
Your new sliding or bi-fold shutters are guaranteed to work seamlessly and silently, adding a touch of additional class to your home.
Why it’s important to leave plantation shutter installation to the professionals

At Pazazz Blinds & Shutters, we always recommend leaving the installation of your shutters to the professionals. Our team has an in-depth understanding of the manufacturer’s installation instructions and requirements, and we know what we have to do to secure your warranty.
Plus, we’ll ensure your shutters are installed properly so that they function perfectly for years to come!
Get the shutter design and installation process started with Pazazz. We offer obligation-free quotes and design consultations to ensure your new shutters blend seamlessly into your home design.


